
|
www.riscos.com Technical Support: |
Installing Acorn C/C++ means setting up a suitable disc directory structure. You only need to perform this once to set up a suitable structure.
To use Acorn C/C++ you will need to install it; booting is performed automatically.
This chapter only describes installation. The Working with desktop tools explains how to use the desktop tools.
Take the following steps to run the Install application:
The Installer application then reads your current filing system and disc name, and displays an options dialogue box:
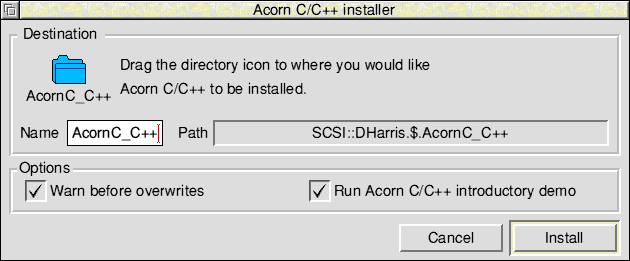
This dialogue box allows you to specify the filing system and disc name to install to, and to set various options for the installation arrangement.
The Path field displays the default filing system name and disc name forming the destination for Installer to copy files to. It is initialised with the current filing system and disc name. If you want to specify a different destination for AcornC_C++, drag the directory icon to the required destination. Use the Name writable field to specify a name other than AcornC_C++.
Warn before overwrites causes Installer to display a warning message before it overwrites existing files whose names are duplicated by new ones. This gives you the opportunity to halt the installation if you don't want an existing file overwritten.
Run Acorn C/C++ introductory demo allows you to specify whether you want the introductory demonstration application to be run after Acorn C_C++ has been installed. See overleaf for details of this application.
Cancel cancels the Install process.
Install starts the installation process with the options as set.
Once you click on Install the following box will be displayed:
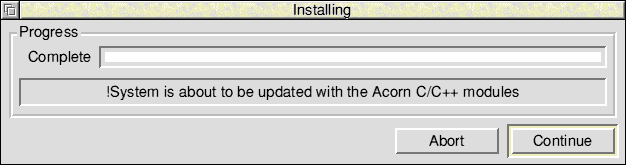
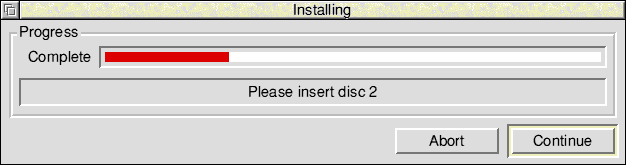
From now on !Installer will ask you to insert the installation discs as it installs the new software. When it asks for a new disc, or displays a warning message, the bar showing installation progress in the Complete field will change from green to red:
If you enabled the Run Acorn C/C++ introductory demo option, the following window will be displayed after the installation is complete:
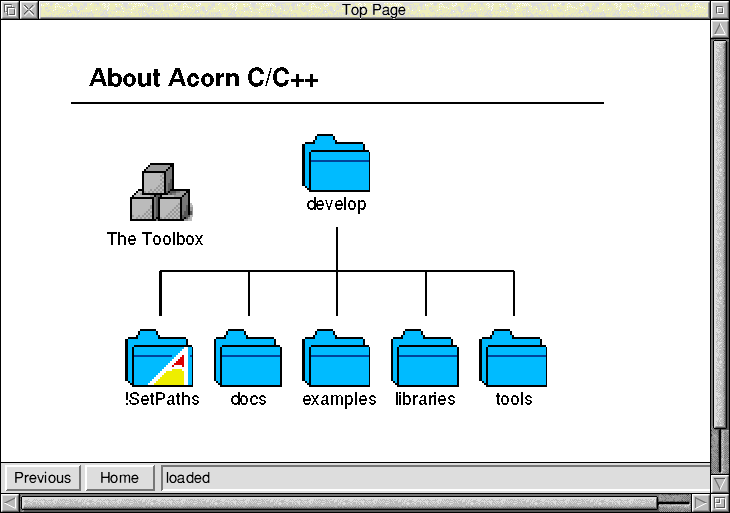
The demonstration toolbox program allows you to learn more about Acorn C/C++ by clicking on various icons which open to display further information. The pointer changes to a pointer attached to an open book if you position it over an icon that can display additional information.

The following directory structure is set up for you on your hard disc. It is created
if not present, or updated if it is already there:

= <System$path> gives the location of your !System directory.
Various Acorn C/C++ operations depend on the correct settings of environment variables. If you carefully follow the instructions at the begining of this chapter for installing Acorn C/C++, they should be correctly set and you do not need the following information. These details are summarised here as an aid for tracking down any problems you may have.
Each desktop tool, when loaded, defines an environment variable of the sort <toolname>$Dir. The purpose of these variables is to allow each tool access to its application directory, for example, to store options. These are not likely to become incorrectly set and cause problems. SrcEdit can be configured with options from its desktop interface, and also from options variables, as described in the SrcEdit later in this manual.
| Set by: | User constructed !Boot obey file. |
| Purpose: | This specifies a list of directory names which the system searches to find and execute image files. When the desktop non-interactive tools are run, they execute command line tools from a library directory. |
| Problems: | If incorrectly set, command line tools may not be found and non-interactive tools fail to run. |
| Set by: | The !Run and !Boot files of the !SetPaths application (set up by !Installer). |
| Purpose: | This is set to the name of the directory containing the desktop tools, and is used by Make to start tool interfaces for setting Tool options. |
| Problems: | If DDE$Path is unset, the Make Tool options facility fails with an error mentioning DDE:. |
| Set by: | The !Run and !Boot files of the !SetPaths application (set up by !Installer). |
| Purpose: | This specifies a list of directory names for the C compiler to search for libraries and their headers. |